DIY Biscuit Cotton Pads

Want an eco-friendly alternative to single use cotton wool pads? These adorable biscuit versions make great gifts, if you can bear to part with them!
If you don’t have a sewing machine or overlocker but have a friend that does, why not organise a group crafting session? Don’t worry if not, you can also make them by hand! I’ll go through a variety of methods of making them.
You will need:
- Mini Printed Biscuit Fabric Pieces - Set of 10
- Scissors
- Needle and thread
- Pins or clips
- Backing fabric*
- Optional: Erasable fabric pen
*Choose a fabric that feels nice against your skin such as towelling (you could repurpose an old towel / facecloth), flannel / brushed cotton, or cotton jersey (you could use an old t-shirt). As I make some of my own clothes, I used my cotton jersey scraps.
You’ll also need at least one of the following:
- Overlocker
- Sewing machine
- Pinking shears
- Stranded embroidery floss
1. Start by cutting out your chosen biscuit. You could use the printed guidelines on the design, or draw your own with fabric pen.

2. Pin your biscuit onto your backing fabric and use it as a guide to cut your backing. I used two layers of cotton jersey to make them extra soft and squishy, but you’ll only need one layer of towelling.


3. Attach your biscuit fabric and backing fabric using your chosen method. I used an overlocker for the rectangular biscuits and a sewing machine for the circular designs. You can allegedly overlock a circle, but I made a right mess of it! I’ll continue showing the overlocker method for now, but keep scrolling for the sewing machine and hand sewing options…

4. I overlocked each of the four edges separately, as this gave me a neater result than trying to pivot at the corners.

5. Trim the overlock threads to about an inch, and tuck them into the seams using a tapestry needle. This gives a much more secure finish than snipping them.

6. If your biscuit has stretched out or gone wrinkly in the process, give it a good steamy press with an iron.

7. …and voila! A beautiful biscuit cotton pad!

Using a Sewing Machine
As I mentioned earlier, I didn’t have much success trying to overlock a circle so I used my sewing machine for the party ring, digestive and jammy heart. These methods also work for the rectangular designs, you just need to pivot at each corner. Thankfully, that’s much easier on a sewing machine than on an overlocker!
You can either use a thread that blends into your chosen design, or a contrast colour. I used pink on my samples so it’s easier for you to see my stitches. There’s a few different ways to make them, depending on your machine’s settings. I used an overcasting stitch, but not all machines have them - check your manual! I tried a few different ones, but found that this one worked best:

Even if you don’t usually use pins, I highly recommended them here as three layers will move around a LOT. There’s a bit of a knack to sewing a circle which involves continuous rotating, and occasionally lifting the presser foot to reposition. There’s lots of helpful videos on YouTube that will explain this better than I could, and I recommend having a practice run first with some scrap fabric if this is new to you.

This method causes a lot of wrinkling, but fear not, a good steamy press with an iron will fix that!

…and voila! These don’t look quite as crisp as the overlocked edges, but I made some in August 2019 using this method, and they’re still going strong.

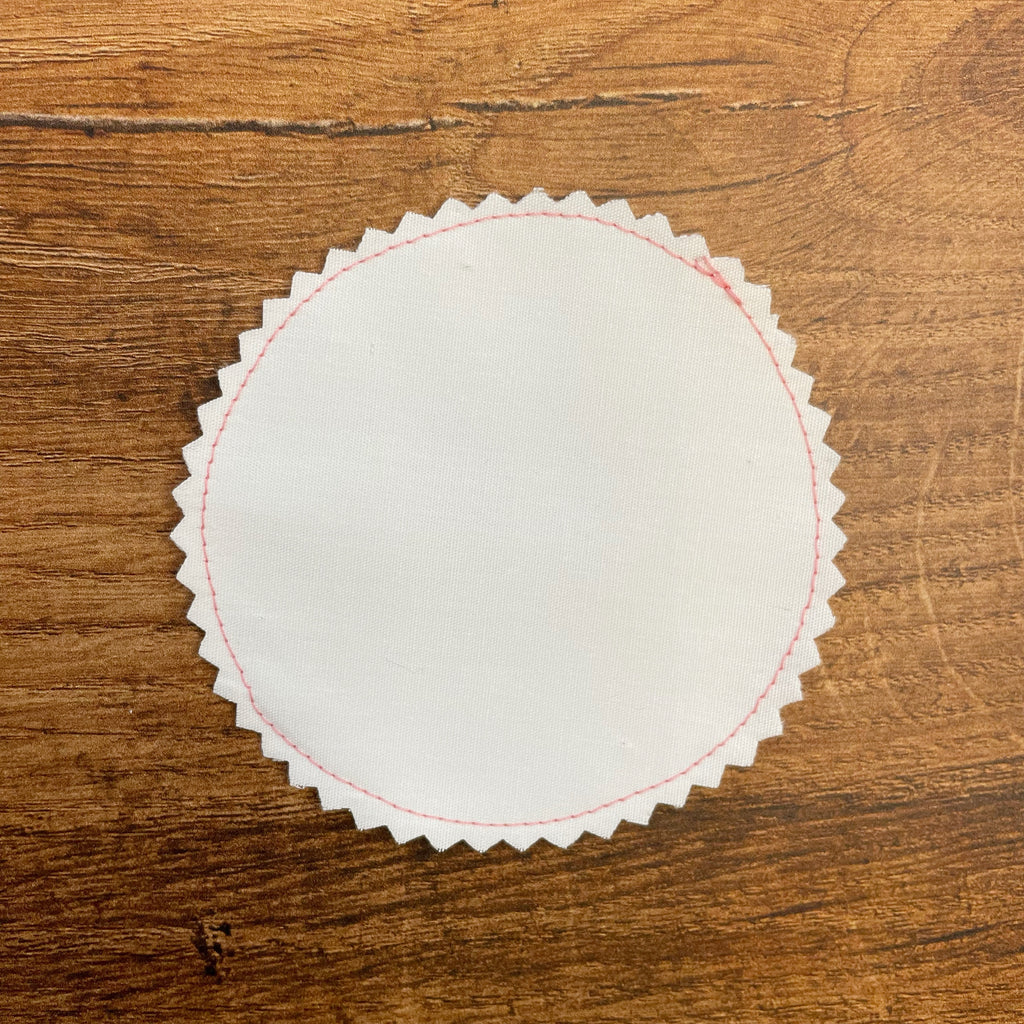
If your machine doesn’t have an overcasting stitch, a zigzag will achieve a similar effect. Use a nice wide zigzag (4-5mm) with a stitch length of 2-3mm and ensure the needle goes just off the edge of the fabric to encase the raw edge.

If your sewing machine only stitches in a straight line, stitch approximately 5-10mm from the edge, and use pinking shears to stop the edge of the biscuit fabric fraying. Make sure you don’t snip through your line of stitches!

Hand Sewing
You can also use pinking shears with a hand-stitched line, although I must confess I didn’t demo this method as my hand-stitching is atrocious!

Alternatively, you could blanket stitch around the edge with embroidery floss. Again, there’s lots of wonderful tutorials on YouTube if you’re not familiar with this method. It’s a firm favourite of mine and I guarantee you’ll want to blanket stitch everything in sight!


These are absolutely one of my favourite things I’ve ever made and I’m so excited to use them! I’ll be saving these to use with toner on make-up-free days to keep them looking fresh, as I have a good stash of less-biscuity ones to use for make-up.
You could also the rainbow biscuit fabric pack and cut them to your desired shape and size. Use a glass or mug to get a nice neat circle, or simply divide each 20cm square up into smaller squares for minimum waste!

To clean: Pop them in a mesh bag in the washing machine with your usual colour/dark wash. I roll mine up in a towel and pop it on the radiator to dry, because if I leave them on a flat surface, my cat sits on them…for some reason.
You can see more of my craft projects on Instagram, and read my bullet journal blog posts on Nikki’s Supply Store.
Happy sewing!
Joy


Comments
0 Comments